Tuesday, February 25, 2020

By default linux server shell color are boring. Basically just using 1 color (white).  While white is okay for simple operations like installing packages, removing logs, etc...  White certainly does not help when listing directory contents.

Colorizing the content of directory really helps because it can distinguish different information using different colors, such as file vs directory. Even better showing full permission files and many more advantages.

Here is a simple instruction of how you can easily colorize your LS directory listing output for Linux (works with debian, ubuntu, centos, redhat, etc...)


In Linux edit /home/(user)/.bashrc

example:
nano /home/admin/.bashrc

Add or make sure the following lines are added:

export LS_OPTIONS='--color=auto'
eval "`dircolors`"
alias ls='ls $LS_OPTIONS'
alias ll='ls $LS_OPTIONS -l'
alias l='ls $LS_OPTIONS -lA'


If you like this article and like your new colorized directory listing, you may want to read my other article about using EXA (a modern replacement for LS - which uses colorized listing by default).

Saturday, February 22, 2020

Install EXA in Ubuntu - replacement for ls (directory listing)

EXA is a modern replacement for the ls (list directory content) command.

There are many benefits for using EXA (many more features you can find on EXA website)
  • Automatic default colors
  • Recursive directory listing
  • Tree view listing
  • GIT support
  • many more see EXA website

sudo apt-get install libhttp-parser2.1
cd /usr/local/src
wget https://github.com/ogham/exa/releases/download/v0.9.0/exa-linux-x86_64-0.9.0.zip
unzip exa-linux-x86_64-0.9.0.zip
sudo mv exa-linux-x86_64 /usr/local/bin/exa

If you would like to automatically replace ls with exa so that everytime you time ls it will use EXA instead, add the following lines to your .bashrc file.

Add to your .bashrc

nano ~/.bashrc

alias ls="exa"
alias ll="exa -l"

Friday, October 18, 2019

Installing MAILJET to Ubuntu 18.04 using POSTFIX (to send email using smtp mail relay)

MailJet is a Third Party email sending (SMTP mail relay).  Mailjet allow you to send up to 200 emails per day for Free (no strings attached!).

Go to mailjet to sign-up here:   https://www.mailjet.com

This guide will quickly show you all the commands to integrate MailJet to your Ubuntu 18.04 Server using POSTFIX.


INSTALLING POSTFIX MODULES AND SASL PASSWORD

sudo apt install postfix libsasl2-modules


SETUP POSTFIX's MAIN.CF CONFIGURATION FILE

sudo nano /etc/postfix/main.cf


# outbound relay configurationsrelayhost = in-v3.mailjet.com:587smtp_sasl_auth_enable = yessmtp_sasl_password_maps = hash:/etc/postfix/sasl_passwdsmtp_sasl_security_options = noanonymoussmtp_tls_security_level = mayheader_size_limit = 4096000

NOTE: your relayhost value may be different, please double check with your MailJet account.


SETUP POSTFIX's SASL_PASSWD FILE 
(get your api-key and secret-key from your MailJet account)

sudo nano /etc/postfix/sasl_passwd

in-v3.mailjet.com:587  api-key:secret-key

sudo postmap /etc/postfix/sasl_passwd
sudo chmod 0600 /etc/postfix/sasl_passwd /etc/postfix/sasl_passwd.db
sudo systemctl restart postfix


CONFIGURE YOUR SENDER ADDRESS -or- DOMAIN AUTHENTICATION
(this is VERY IMPORTANT for your email deliverability)

Go to your MailJet account and find Sender Email Address
Go to your MailJet account and find Domain Authentication


TEST SENDING EMAIL AND CHECK YOUR SCORE!

sudo apt install bsd-mailx


echo "this is a test email." | mailx -r from-address -s "Hello sending from MailJet" to-address


Installing Akaunting (open source accounting / invoicing software) on Ubuntu 18.04 LEMP

Welcome to my quick guide how to install self-hosted Akaunting web application. Akaunting is a very good open source accounting software. It is 100% free to use and customize because it is open source. It is built solidly using PHP and Laravel and stores data using MySQL server.

Here is the link to Akaunting project official website:

https://www.akaunting.com

Before you get started you may want to install LEMP (linux nginx mysql and PHP) first.
I have a quick 10 minute guide here:

https://ubuntu-server-how-to-tips-tricks.blogspot.com/2019/10/installing-lemp-linux-nginx-mysql-php.html

in this example I am going to store my akaunting software in /data_local/app/www/akaunting
yours may be different such as /var/www/akaunting


After you have LEMP installed you can start installing Akaunting:


DOWNLOAD AND COPY AKAUNTING ZIP FILE FROM THIS URL

https://akaunting.com/thank-you


PREPARE THE DESTINATION DIRECTORY

mkdir -p /data_local/app/www/akaunting


UNZIP THE AKAUNTING ZIP FILE  (adjust filename as necessary for different version)

unzip Akaunting_1.3.17-Stable.zip


SET CORRECT PERMISSION ON DESTINATION DIRECTORY

chmod -R 775 /data_local/app/www/akaunting
chown -R www-data:www-data /data_local/app/www/akaunting


SETUP MYSQL DATABASE, USER AND PERMISSIONS

sudo mysql
create database akaunting;
create user accountant@localhost identified by '<your_password_here>';
grant all privileges on akaunting.* to accountant@localhost;
flush privileges;
exit;


INSTALL ADDITIONAL PHP MODULES AS REQUIRED BY AKAUNTING

sudo apt install php-imagick php7.2-gd php7.2-curl php7.2-zip php7.2-xml php7.2-mbstring php7.2-bz2 php7.2-intl


SETUP NGINX CONFIGURATION FILE USING THE FOLLOWING TEXT

nano /etc/nginx/sites-enabled/default


server {

    listen 80 default_server;

    # listen 443 ssl http2;


    # ssl_certificate /ssl/crt/file.crt;

    # ssl_certificate_key /ssl/key/file.key;


    server_name _;


    root /data_local/app/www/akaunting/;


    add_header X-Frame-Options "SAMEORIGIN";

    add_header X-XSS-Protection "1; mode=block";

    add_header X-Content-Type-Options "nosniff";


    index index.html index.htm index.php;


    charset utf-8;


    location / {

        try_files $uri $uri/ /index.php?$query_string;

    }


    # Prevent Direct Access To Protected Files

    location ~ \.(env|log) {

        deny all;

    }


    # Prevent Direct Access To Protected Folders

    location ~ ^/(^app$|bootstrap|config|database|resources|routes|storage|tests|artisan) {

        deny all;

    }


    # Prevent Direct Access To modules/vendor Folders Except Assets

    location ~ ^/(modules|vendor)\/(.*)\.((?!ico|gif|jpg|jpeg|png|js|css|less|sass|font|woff|woff2|eot|ttf|svg).)*$ {

        deny all;

    }


    error_page 404 /index.php;


    # Pass PHP Scripts To FastCGI Server

    location ~ \.php$ {

        fastcgi_split_path_info ^(.+\.php)(/.+)$;

        fastcgi_pass unix:/var/run/php/php7.2-fpm.sock; # Depends On The PHP Version

        fastcgi_index index.php;

        fastcgi_param SCRIPT_FILENAME $document_root$fastcgi_script_name;

        include fastcgi_params;

    }


    location ~ /\.(?!well-known).* {

        deny all;

    }

}


sudo systemctl nginx reload


GO TO BROWSER AND FINISH CONFIGURATION


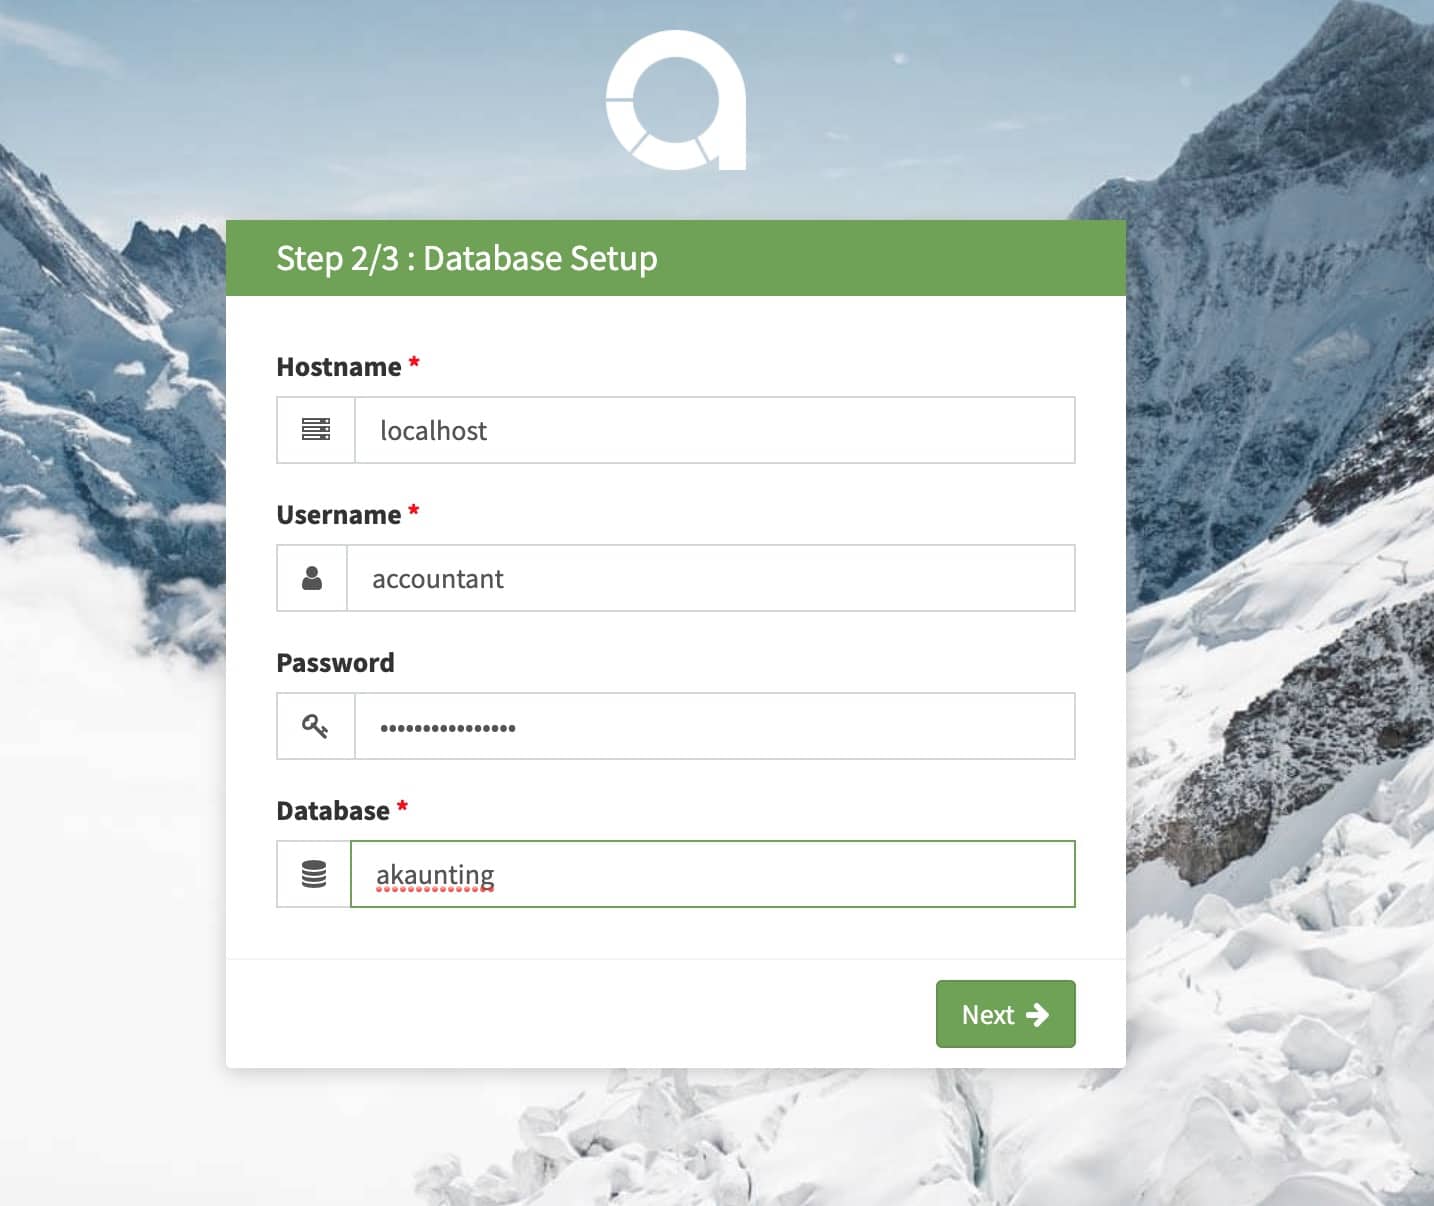
Just follow the rest of the guide / wizard from the Akaunting.

Congratulations! You have just installed a free and powerful accounting software for your business!


REVERSE PROXY SETTING

If you are using Akaunting behind reverse proxy, make sure you add this setting:

fastcgi_param HTTPS 1;

This setting saved my day!


Installing LEMP (linux nginx mysql php) on Ubuntu 18.04 LTS and PHP 7.2+

Here is a quick guide how to install LEMP (linux + nginx + mysql/mariadb + PHP 7.2) on Ubuntu Server 18.04 LTS.

If this is a brand new server, you may want to do the Initial Commands I do for every new Ubuntu server first. It will only take about 3 min and you can find those initial commands here:

https://ubuntu-server-how-to-tips-tricks.blogspot.com/2019/10/initial-setup-commands-for-every-new.html

PREPARE APT

sudo apt update


INSTALL NGINX (web server)

sudo apt install nginx
sudo systemctl enable nginx


INSTALL MYSQL SERVER (or MARIADB)

sudo apt install mariadb-server mariadb-client
sudo systemctl enable mariadb
sudo mysql_secure_installation


INSTALL PHP 7.2+

sudo apt install php7.2 php7.2-fpm php7.2-mysql php-common php7.2-cli php7.2-common php7.2-json php7.2-opcache php7.2-readline


That's it, if all goes well you can do all of the above in less than 10 min!

Congratulations! you now have a fully functional LEMP server!


Initial setup commands for every new ubuntu server I setup

Each time I setup a new Ubuntu Server, I always do the same initial commands.  These commands will set the locale, date & time and base softwares.

SETTING LOCALE

sudo dpkg-reconfigure locales


SETTING TIMEZONE

timedatectl
timedatectl list-timezones
timedatectl set-timezone Region/Location


UPDATING APT

sudo apt update


UPGRADING OPERATING SYSTEM

sudo apt upgrade


INSTALLING BUILD ESSENTIAL

sudo apt install build-essential
sudo apt install software-properties-common


Sunday, September 8, 2019

How to configure / setup Star TSP100LAN (TSP 143) Thermal Receipt Printer on CUPS

I have search every where on google and did not find anybody providing tips on how to setup the settings on CUPS for the STAR TSP III 143 LAN printer

I had a USB version of this printer that died.

After that, I bought another Star TSP 143 printer but I bought the wrong one, I bought a LAN (RJ45 connector version).

So, I had to reconfigure my CUPS connection string from:

usb://Star/TSP143%20(STR_T-001)

to

lpd://10.1.10.202/
 -or-
lpd://10.1.10.202/queue

Since my printer was already configured for USB, all I had to do is change it using 'Modify Printer'
Here are the steps I took:

1. Select which protocol to use (select LPD/LPR - line printer):


2. On the next page, enter this URL on the address:

lpd://10.1.10.202/


3. Send a Test Print Page:

Go back to Printers from top menu, select the right printer, and select 'Print Test Page'


That's all, I hope this guide helps someone.

Thanks for visiting my blog.

Help support my blog...
If you happen to need to buy this Start Receipt Printer, please use my Amazon link below:

LAN / Network version:  https://amzn.to/2HUJ2zU
USB version:  https://amzn.to/317HQAS

--Andrew